



There’s a specific kind of dread that comes from knowing something is wrong in your home but not being able to name it.
You notice it first as a feeling.
The bathroom smells slightly off — not like sewage, nothing that alarming — just close. Stale. The kind of smell that sends you reaching for the air freshener and then forgetting about it.
Then you notice the line. Dark, textured, running along the joint where your shower meets the wall. You scrub it off. It’s back in three weeks. You scrub it again. Then you notice the line. Dark, textured, running along the joint where your shower meets the wall. You scrub it off. It’s back in three weeks. You scrub it again and again and again…
When the problem isn’t your cleaning — it’s your sealant
For Deepika, a marketing manager in a Banjara Hills apartment in Hyderabad, this cycle ran for nearly eighteen months.
She’d moved into the flat after a full renovation.
Everything had looked clean. She’d assumed the mould was just — Hyderabad. The humidity. Something to manage.
She wasn’t wrong about the humidity. She was wrong about everything else.
The black line wasn’t a symptom of her bathroom being dirty. It was a symptom of her bathroom being slowly destroyed — from the inside out.
Behind those tiles, in a cavity she had no reason to think about, water had been pooling since the second monsoon. The silicone along the base of her shower tray had cured, hardened, and started pulling away from the surface.
A gap had opened — barely visible to the naked eye, no more than a fraction of a millimetre in most places. But water doesn’t need much of an invitation.
When “just managing it” becomes a ₹94,000 mistake
By the time a contractor confirmed what was happening, two tiles had to come off and four square feet of plaster were soft.
The sealant that had failed cost approximately ₹180 to purchase. The damage it caused cost ₹94,000 to repair.
She asked the contractor what kind of silicone he’d be using to re-seal the shower. He held up the cartridge and said:
sanitary-grade, anti-fungal, neutral cure.
She asked why the last person hadn’t used that.
He shrugged. “Builders don’t. It costs a little more.”
That’s the whole story, right there. And if you’re reading this because you have a black line in your bathroom too — let’s make sure you understand what’s actually behind it, and what to do before the tiles start moving.
So what exactly is "anti-fungal" silicone? How is it different from what your builder likely used? And why do Indian bathrooms in particular need it so badly? Let's get into it — properly, not with marketing claims, but with actual chemistry and real-world consequences.
Why your bathroom is the perfect mould factory
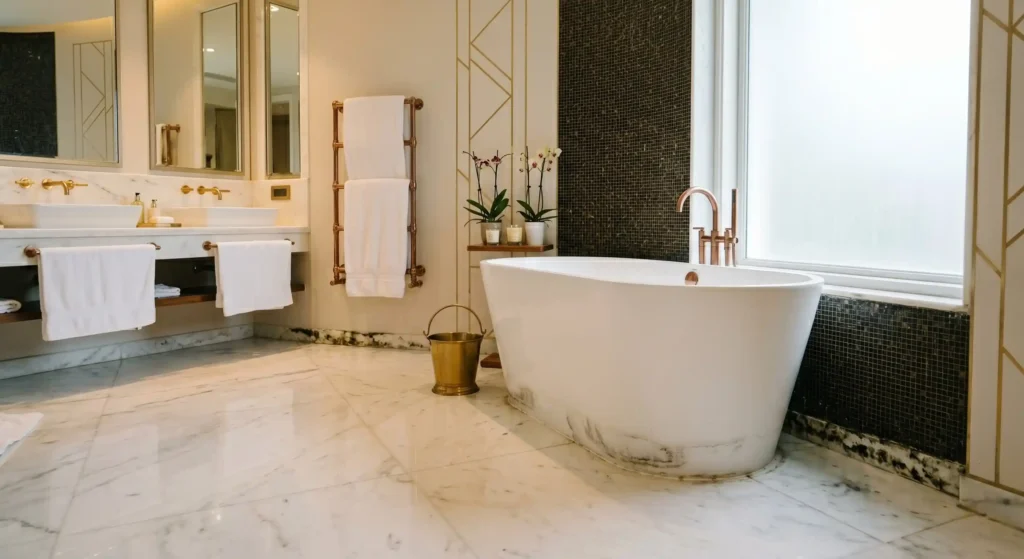
Before we get to the solution, it helps to understand the problem.
Mould isn’t random. It’s systematic — it follows moisture, warmth, still air, and organic food sources.
Your bathroom provides all four, every single day.
The silicone sealant around your shower tray, bathtub, basin, and wall tiles sits in the intersection of every one of those conditions.
Steam condenses on its surface. Soap residue, body oil, and shampoo deposit a thin organic film on it. And if your bathroom has poor ventilation — which describes most flats in Indian cities — that moisture lingers for hours after you’ve left.
India-specific risk:
During monsoon season (June–September), indoor relative humidity in cities like Mumbai, Chennai, Hyderabad, and coastal Bengaluru regularly reaches 80–90%. Mould spore settlement accelerates dramatically above 60% RH. Most Indian bathrooms run at high-risk humidity levels for 4–5 months of the year.
Here’s the technical correction that most articles get wrong: mould doesn’t actually feed on silicone itself. Silicone is largely inert and nutritionally useless to fungi.
What mould feeds on is the soap scum, dead skin cells, and organic residue deposited on top of and around the silicone. Once established on the surface, it colonises cracks and gaps in the sealant. And once it’s inside or behind the sealant — it’s unreachable by any surface cleaner.
This is exactly where standard, builder-grade silicone fails the test. It provides no defence against colonisation at all.
What “anti-fungal” actually means — the chemistry in plain language
Standard silicone is a silicone polymer matrix — waterproof, flexible, durable, but essentially neutral with respect to microbial life.
Anti-fungal silicone has the same polymer base, but with biocidal additives embedded into the matrix itself. The most commonly used active compounds are isothiazolinone derivatives — the same class of chemistry used in hospital-grade antimicrobials.
These biocides work by disrupting the cellular structure of mould spores.
When a fungal spore lands on anti-fungal silicone, the biocide prevents it from reproducing and spreading. Critically, the biocide isn’t sprayed on the surface — it’s part of the sealant’s molecular structure. In advanced formulations, it’s microencapsulated, which means it releases slowly over time rather than all at once — providing lasting protection rather than a short-lived burst of activity.
“Antifungal” in a silicone sealant does not mean “mold can never grow here.”
A more accurate way to think about it is:
The silicone contains ingredients that make the sealant itself a less welcoming place for mold and mildew to grow.
An easy analogy
Imagine two park benches left outside in the rain:
Both benches get wet. Mold may still appear if conditions are bad enough, but the protected bench stays cleaner for longer.
Antifungal silicone works in a similar way.
What’s actually inside it?
Most sanitary or bathroom silicones contain small amounts of chemicals called fungicides (sometimes called biocides). One of the primary fungicides used in silicone sealants is OIT (2-octyl-2H-isothiazol-3-one).
These additives are mixed into the sealant during manufacturing. Their purpose is to:
- Slow down mold growth.
- Prevent mold from colonizing the silicone bead itself.
- Keep the sealant looking clean for longer.
Antifungal silicone cannot stop mold from growing on dirt, soap residue, body oils, or limescale sitting on top of the sealant.
For example:
If a shower corner has:
then mold may grow on the grime covering the silicone even though the silicone itself contains antifungal additives.
People often see black mold and assume the antifungal silicone “failed.” In reality, the mold may be feeding on the dirt layer above the sealant rather than the sealant itself.
Technical note:
The most effective anti-fungal silicones (such as DOWSIL Neutral Fungicide Sealant, Sika Sanisil, and Wacker AF) use microencapsulated biocides in a neutral-cure silicone base. The neutral-cure chemistry (which releases alcohol rather than acetic acid during curing) means they’re safe to use against ceramics, marble, aluminium, and stainless steel — all common bathroom surfaces. Premium bathroom sealant services should only be specifying sanitary-grade, anti-fungal neutral-cure formulations.
The five-stage failure cascade — what’s really happening in your wall
Here’s what your bathroom wall goes through when ordinary silicone fails. Click each stage below to understand exactly what’s happening and whether it’s still reversible.
Surface discolouration
Grey or black spots appear on the silicone surface. This is early-stage mould feeding on soap and organic residue deposited on the sealant. At this point, the sealant itself is still intact. Professional cleaning and anti-fungal re-sealing can resolve this completely. Still reversible.
Mould penetration into the sealant body
Fungal hyphae (root threads) have grown into micro-cracks and the sealant body. Surface cleaning cannot reach this stage. Bleach will temporarily lighten it; the mould always returns within weeks. Full sealant replacement is now the only solution. Requires professional bathroom sealant repair. Surface cleaning no longer works.
Water penetration behind tiles
Sealant has shrunk, cracked, or pulled away from the tile edge — creating a gap. Water from showers and splashing is now entering the wall cavity. This is silent damage: you won’t see it until significant saturation has occurred. Early intervention — professional shower sealant replacement — can still prevent structural damage. Urgent: requires shower caulking.
Hidden cavity mould colonisation
Stachybotrys chartarum (black mould) has established colonies in the wall cavity behind tiles. Plaster is beginning to absorb moisture and soften. Musty odour may be present in the bathroom. Tile adhesive is weakening. This stage typically requires tile removal, mould treatment, replastering, and full re-tiling — in addition to bathroom sealant replacement.
Full structural failure
Tiles are detaching. Plaster is crumbling. Water has potentially reached the building’s structural substrate. Full bathroom renovation is now unavoidable. Typical cost: ₹80,000–₹3,00,000 depending on bathroom size and extent of damage. This outcome was completely avoidable with timely bathroom sealing services using anti-fungal grade silicone.
Signs your sealant is already failing — what to look for right now
Most homeowners don’t inspect their bathroom sealant until something goes visibly wrong. Here’s a quick diagnostic — the warning signs that tell you professional bathroom sealant services are overdue:
the warning signs
What black mould is actually doing to the people inside your bathroom
Most people treat bathroom mould as an aesthetic problem. A cosmetic inconvenience. Something to bleach on a weekend and stop thinking about.
The medical literature disagrees.
Black mould — specifically Stachybotrys chartarum, the species that colonises wet plaster, saturated tile adhesive, and failed bathroom sealant — produces mycotoxins. These are airborne compounds released as the mould grows and spreads.
You cannot see them. You cannot smell them distinctly.
But in a small, poorly ventilated bathroom — the kind that describes the vast majority of flats across Delhi, Hyderabad, Mumbai, and Bengaluru — you are breathing them in every single morning.
The health consequences are not dramatic and sudden. That’s precisely why they go unrecognised for so long. They look like this:
India has one of the highest asthma prevalence rates in Asia — estimated at over 30 million cases. Mould exposure is a documented asthma trigger. The connection between failing bathroom sealant and worsening respiratory health in the home is not theoretical. It is a documented, studied, clinical reality.
That mould you’re looking at is the visible fraction. The mycotoxin-producing colonies are inside the wall cavity — behind the tiles, in the saturated plaster — where no cleaning product can reach and where they can thrive for years undisturbed.
Professional bathroom sealant repair stops the water entry that sustains those colonies. It doesn’t just protect your tiles. It removes the condition that makes the hidden mould possible at all.
The best silicone for your bathroom — a complete guide
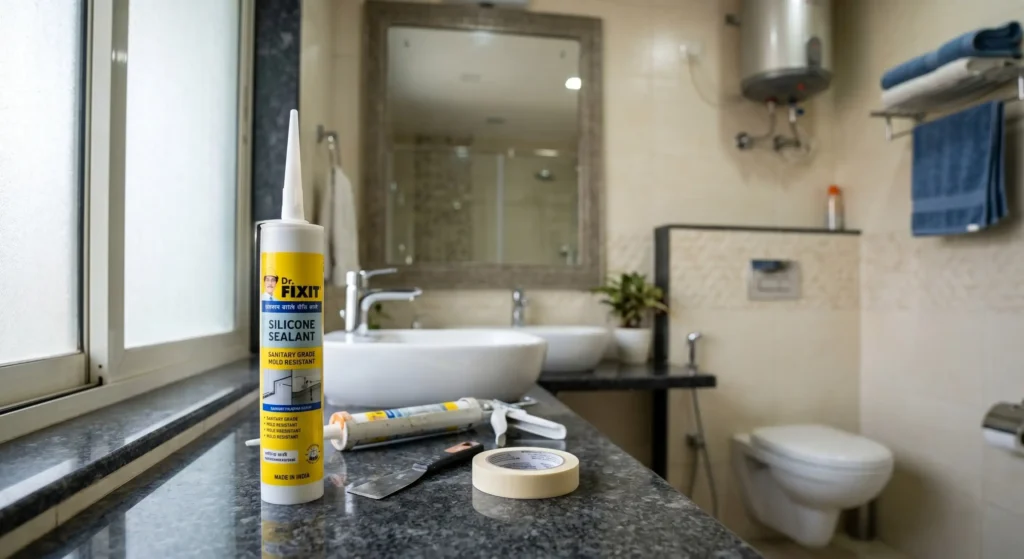
Not all silicone is equal, and the product your builder used during construction is almost certainly not the right specification for a high-humidity Indian bathroom.
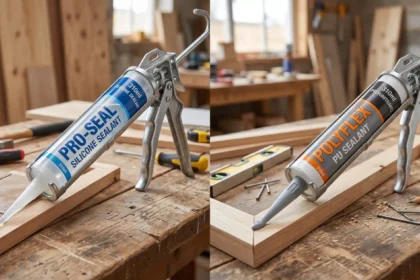
Here’s a breakdown of the key silicone types suited for bathroom environments and when to use each — something any quality bathroom sealant service provider should be guiding you on.
What anti-fungal silicone cannot do — the honest limits
Any professional worth trusting will tell you this.
Anti-fungal silicone is not magic. Here are the conditions under which it fails — and why professional application makes the difference:
Professional application vs. DIY — why it matters as much as the product
Here's the part that most product-focused content doesn't want to say out loud: even the best anti-fungal silicone will fail if applied incorrectly.
And in a bathroom environment — where the consequences of failure are structural — "incorrectly" covers a lot of ground.
1. Surface preparation determines adhesion
Silicone needs a clean, dry, and properly prepared surface to bond correctly. Professionals typically:
- Remove all old sealant residue.
- Clean away soap scum, grease, dust, and contaminants.
- Use appropriate primers when required.
A premium silicone applied to a contaminated surface may peel away long before its expected lifespan.
2. Correct joint design affects durability
Professionals understand factors such as:
- Joint width-to-depth ratios.
- Movement and expansion requirements.
- Use of backing rods where necessary.
An improperly sized joint can crack, split, or lose adhesion even if the sealant itself remains intact.
3. Consistent bead application improves performance
DIY applications often result in:
- Uneven bead thickness.
- Air pockets.
- Gaps or weak spots.
Professionals use techniques and tools that create a continuous, uniform seal, reducing the risk of water penetration and premature failure.
4. Tooling impacts waterproofing
"Tooling" is the process of smoothing and shaping the silicone immediately after application.
Proper tooling:
- Forces the silicone into contact with the substrate.
- Eliminates trapped air.
- Creates a shape that sheds water effectively.
Poor tooling can leave channels where moisture accumulates, encouraging mold growth or leaks.
5. Cure conditions matter
Temperature, humidity, and exposure to water during curing all affect performance.
Professionals are more likely to:
- Select the correct sealant type for the environment.
- Allow adequate cure time before exposing the joint to water or stress.
Many DIY failures occur because the sealant is disturbed before it has fully cured.
Why it keeps coming back — the real reason DIY bathroom re-sealing always fails
If you have tried to re-seal your shower or bathroom yourself, and the mould came back within two to three months, you are not doing it wrong.
You are doing it the same way almost everyone does it — and the same way it has always failed.
The reason has nothing to do with the product you bought.
It has everything to do with what happens — or doesn't happen — before you open the cartridge.
The preparation problem is the only problem.
Here is the sequence of what actually needs to happen before new silicone can be applied to a bathroom surface
Step 1 — Complete removal of the old sealant

Old silicone must be fully removed — every fragment, every residue layer — before new sealant is applied. Adhesion of new silicone to old silicone is unreliable. Most DIY attempts involve scoring the surface and applying new sealant on top of what's left.

Professional shower caulking repair uses mechanical removal tools and solvent preparation to achieve a completely clean substrate before anything is applied.
Step 2 — Mould treatment of the substrate
If there was visible mould on the old sealant — and for most Indian bathrooms that have reached the re-sealing stage, there was — the substrate beneath it is contaminated.
The tile edge, the grout, the tray surface: all carry mould spores that survived the removal process.
Applying new sealant over a contaminated substrate is the most reliable way to ensure the new sealant develops mould within weeks. A biocidal solution must be applied to the substrate, the area must dry completely — 24 to 48 hours minimum in a well-ventilated space — before re-sealing begins.Step 3 — Surface must be bone dry
In a bathroom that is used daily, achieving and maintaining a bone-dry surface for the required window before application is genuinely difficult.
Professionals schedule bathroom tile caulk repair and replace shower caulking jobs on days when the bathroom can be left completely dry for a minimum of twelve hours prior — and left uncured for twenty-four hours after.Step 4 — Joint geometry matters
The depth-to-width ratio of a sealant bead determines how it moves with the natural thermal expansion and contraction of the bathroom structure.
A bead that is too deep relative to its width will crack under movement stress. A bead that is too shallow won't seal effectively.
The correct geometry for a shower tray joint is not the same as the correct geometry for a basin splashback. Getting this wrong means the sealant fails mechanically — not from mould, but from the ordinary movement of the building — long before it should.Step 5 — Curing environment
Silicone needs adequate ventilation and temperature to cure correctly.
A sealed bathroom with no air movement, in summer heat above 38°C, is not the ideal curing environment — and in Indian conditions, that describes most bathrooms between April and September. Anti-fungal silicone in particular requires correct curing to allow the biocide to set properly within the matrix.The honest summary:
bathroom sealant replacement done correctly is a multi-stage technical process, not an afternoon maintenance task. The materials are one part of the outcome. The preparation, the timing, the technique, and the product specification together determine whether the result lasts eight months or eight years.
This is the gap between a professional bathroom sealant service and a tube from the hardware store. Not the silicone. The everything else.
The bottom line — what Ritu's bathroom taught us
Ritu spent ₹1.85 lakhs on a repair she didn't need to have.
The silicone that failed in her shower cost the builder perhaps ₹200. The professional bathroom sealant service with anti-fungal sanitary-grade silicone that would have prevented the whole situation? A fraction of the repair cost — and it comes with a warranty.
This is the calculus of bathroom maintenance in India:
the right silicone, correctly applied, is one of the highest-return investments in your home.
It costs almost nothing relative to what it protects. And the alternative — ignoring it through one monsoon season too many — is a renovation bill that will make you wish you'd acted sooner.
Whether your bathroom needs shower caulking repair, full bathroom sealant replacement, shower tray sealant repair, or you're simply not sure where you stand — a professional assessment is the starting point. Don't scrub that black line again next Sunday. Get it properly diagnosed and resolved.